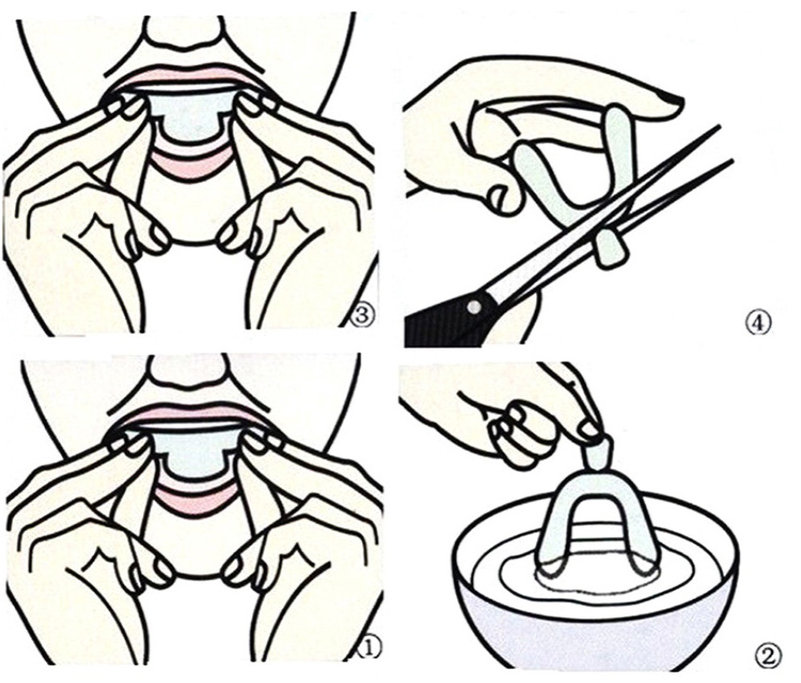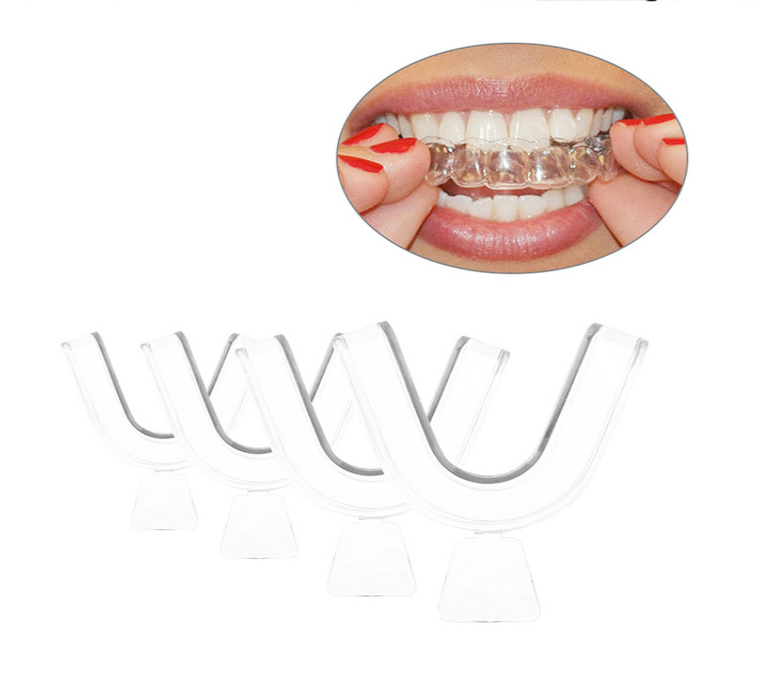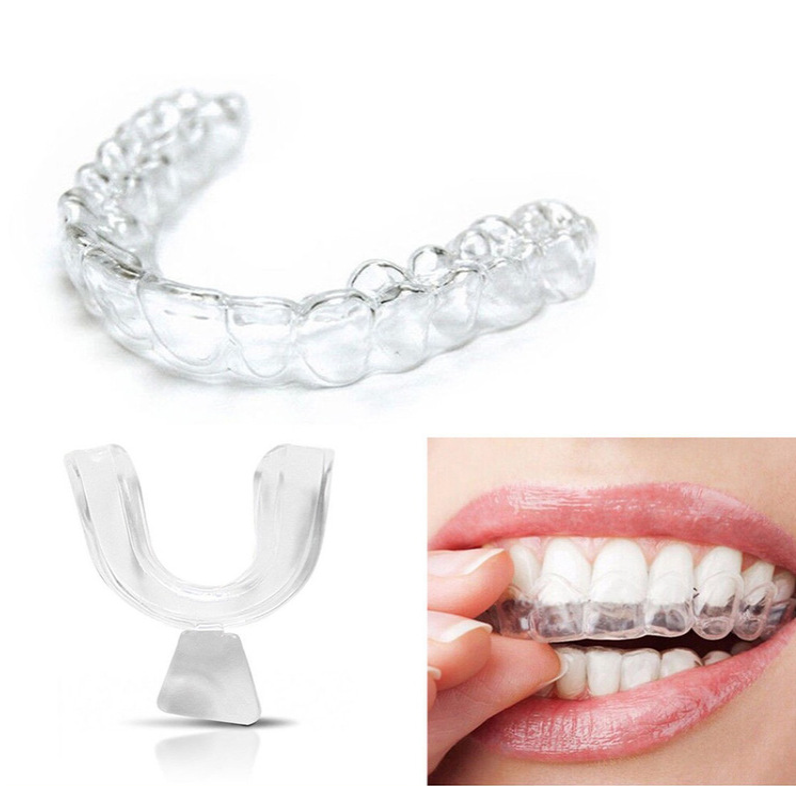


✔ Place the tray on the upper gum.
✔ Use suction to remove air between the tray and gum, allowing it to mold properly.
✔ Repeat this step twice to ensure a secure fit.
🔹 Tip: This step is crucial for creating a well-fitted dental tray.
✔ Pour 80-90°C water into a flat-bottomed container.
✔ Ensure the tray is fully submerged while keeping the handle above water.
✔ Leave in hot water for 5-7 seconds, then remove.
🔹 Tip: The tray will become soft and slightly elongated, so avoid over-soaking.
✔ Quickly place the softened tray on the gums.
✔ Use the suction method (from Step 1) to mold it.
✔ Press the tray firmly against the teeth using fingers and tongue.
🔹 Tip: Be fast and gentle—do not bite too hard. The tray may feel warm but will not harm your gums.
✔ Hold the tray in place for 10-15 seconds.
✔ Rinse with cold water to set the shape.
✔ Cut off excess material above the gum line using scissors.
✔ Remove the handle of the tray.
🔹 Tip: Trimming ensures the gel only contacts the teeth, reducing gum irritation.
✔ Apply gel evenly onto the outer tooth surface of the tray.
✔ Use 0.5-1mm of whitening gel per application.
✔ If using solid whitening gel, spread it across the entire outer surface.
🔹 Tip: Before applying gel, dry the inside of the tray with a soft tissue to ensure even coating.


